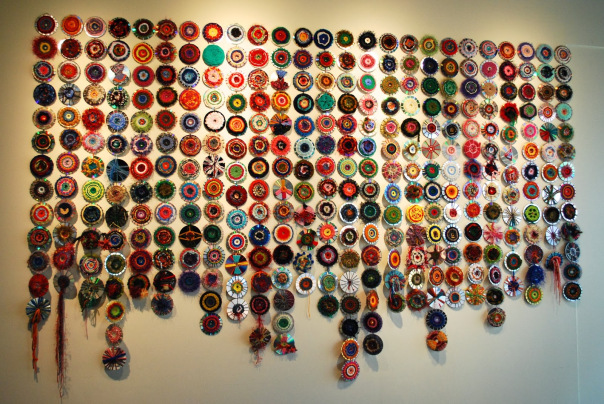
Help us create a large weaving installation! Do you have an old CD lying around? Maybe it is super scratched and doesn’t play anymore or maybe it is an old program installation CD that you don’t need. Lets turn it into art! Below are instructions on how to make a woven CD.
- Feel free to make as many as you want! The more the better! Our goal is a couple hundred.
- Your weavings will not be returned. However you are welcome to put your name and date on the back side.
- We will have a limited number of kits free for pick up at our front desk beginning June 16th.
- The last day to drop off weavings are Monday, July 20th. Weavings can be dropped off at the front desk during open hours beginning June 16th or in our mail slot on the east side door any time.
- Installation will be ready for viewing on our Family Fun Day – Saturday, July 25th
Supplies:
• Yarn
• CD
• Thick plastic such as a lid that is sturdy but somewhat flexible
• Scissors
• Tape

The shiny side of our recycled CD will the side that we make our weaving on.

First we need to make our warp, or the string we will be weaving through. You will need roughly 4 – 6 ft of string for the warp. 6 feet will get you roughly 19 warp threads. It is important to have an ODD number of warp threads. The more warp threads you have the tighter your weave will be, but the longer it will take. So if you are helping a younger child with this project you might look at having a smaller amount of warp threads.
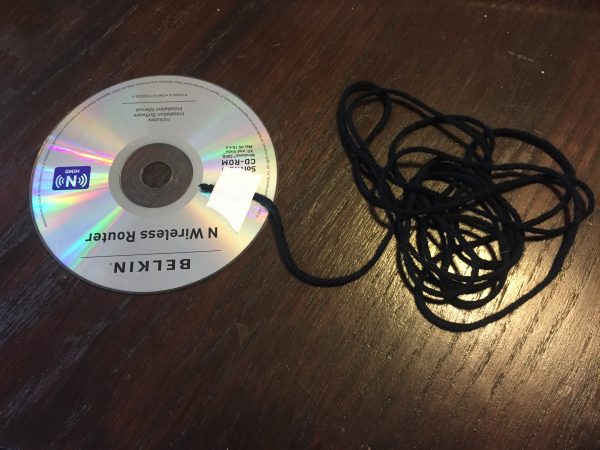
Flip your CD over and tape the end of your warp thread to the back.
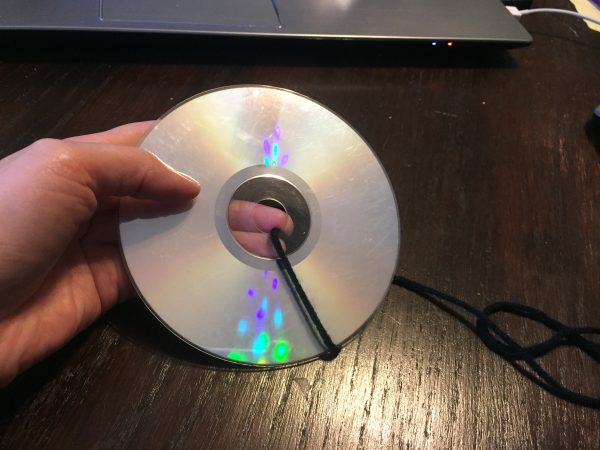
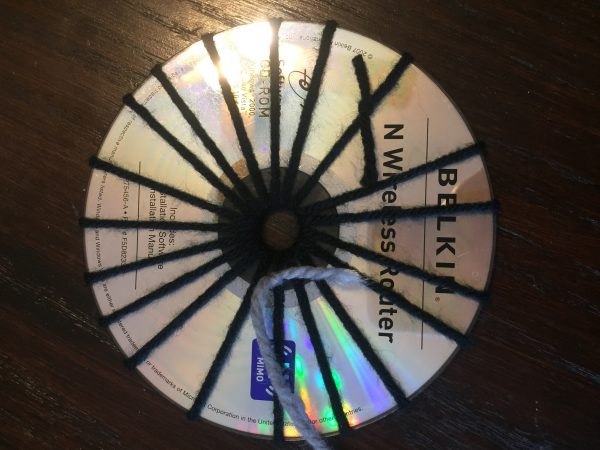
Flip your CD back over to the shiny side and begin wrapping your yarn around the CD by going through the center and coming back over the side and back through the center again, creating spokes of a wheel. Keep your string as tight as possible and do not overlap.
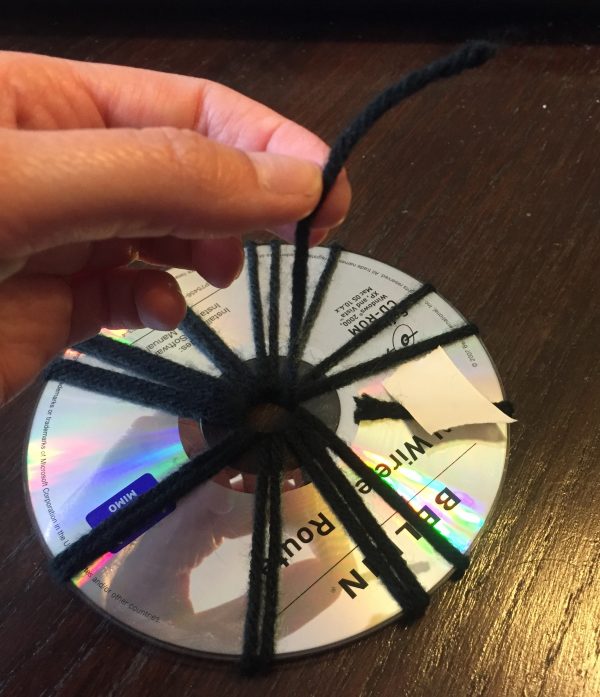
When you get to the end of your string knot it with the end that you taped to the back.
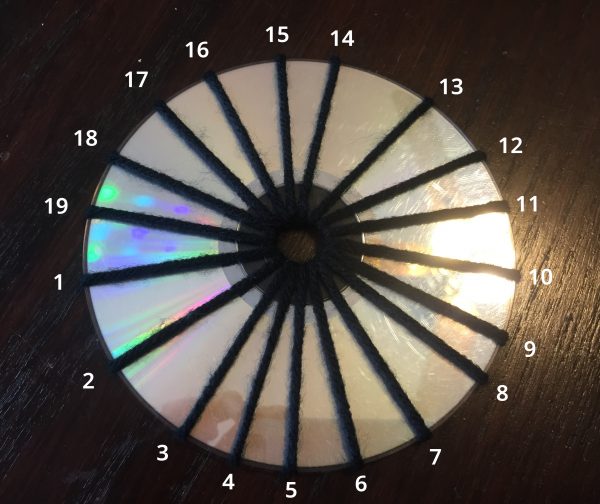
You should end up with an odd amount of warp strings. You can see I ended up with 19.
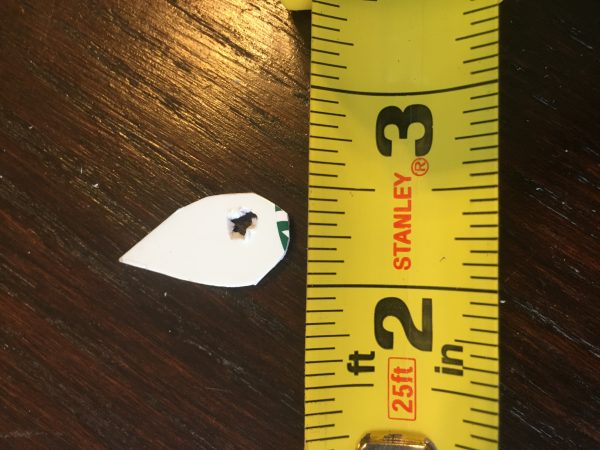
To create your needle take your plastic and cut out a tear drop shape no more than a 1/2 inch wide. Remember it has to fit through the center of the CD. If you have a hole punch, make a hole on the thick end. I used scissors to make my hole.
Choose your first yarn and cut a couple feet. Attach it to the back of the CD by tying it to one of the warp spokes. At the other end thread your needle. Push your needle up through the center hole and begin weaving.
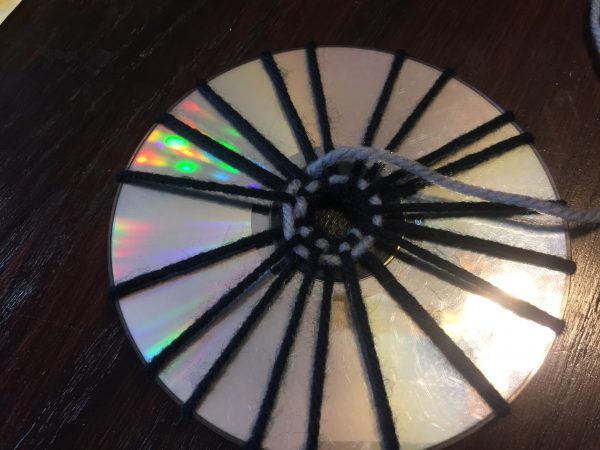
I hold the CD in my left hand as I weave and weave in a clockwise direction but do what ever feels comfortable for you. Take your needle and go under a string then over the next. Keep repeating. I usually go over and under 3-4 strings before I completely pull my string taut.
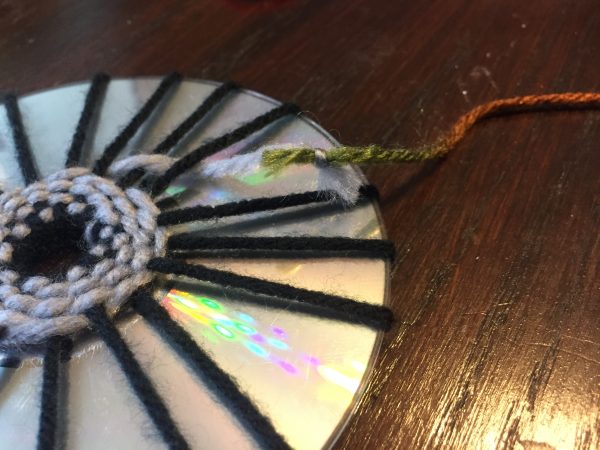
When you run out of string or yarn, or are ready to change color, just tie on your new yarn to the end of your old and continue weaving.
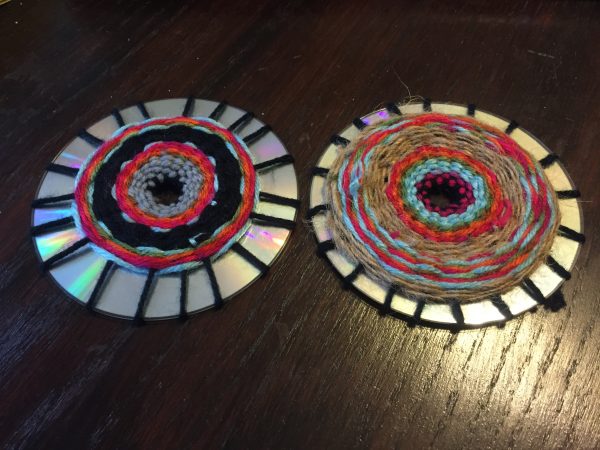
When you reach the end just use the tip of your needle to tuck the tail of your yarn behind your weaving. It is okay to leave a section of the CD exposed. They will catch the light and give them some shine! Don’t be afraid to play around with different types of materials such as texture and fluffy yarns.